Author: JonathanNPW

  • How to Choose a Cutting Board Wood: A Maker’s Guide

    How to Choose a Cutting Board Wood: A Maker’s Guide

    The cutting board wood you choose shapes almost everything about a board: how it feels under your knife, how long it lasts, and how it ages on your counter. I build every board by hand in my Virden, Manitoba shop, and I spend nearly as much time picking the lumber as I do milling it. Some species stay kind to your knives and your food. Others look stunning in a photo but fight you every time you cook. Below I walk through what makes a good cutting board wood, how the three classics compare, where bolder character woods fit, and how to match the wood to the way you actually cook.

    What makes a good cutting board wood

    Two things separate a great board from a problem one: grain structure and hardness. First, the grain. The best species are closed-grain hardwoods, which means their pores are tight and the surface stays dense. Maple, walnut, and cherry all fit here, and because their grain is so closed, they resist moisture and give bacteria nowhere to settle. Open-grain woods like oak and ash do the opposite. Their wide pores trap food and water, so I keep them out of the kitchen entirely.

    Second, the hardness. Woodworkers measure this on the Janka scale, and for a cutting board you want to land between roughly 900 and 1,500 pounds-force. Too soft, and the board grooves, warps, and develops the kind of valleys where bacteria hide. Too hard, and you will be sharpening your knives constantly. A good cutting board wood sits right in that middle band, tough enough to last yet gentle enough to protect an edge.

    Maple, walnut, and cherry: the classic cutting board woods

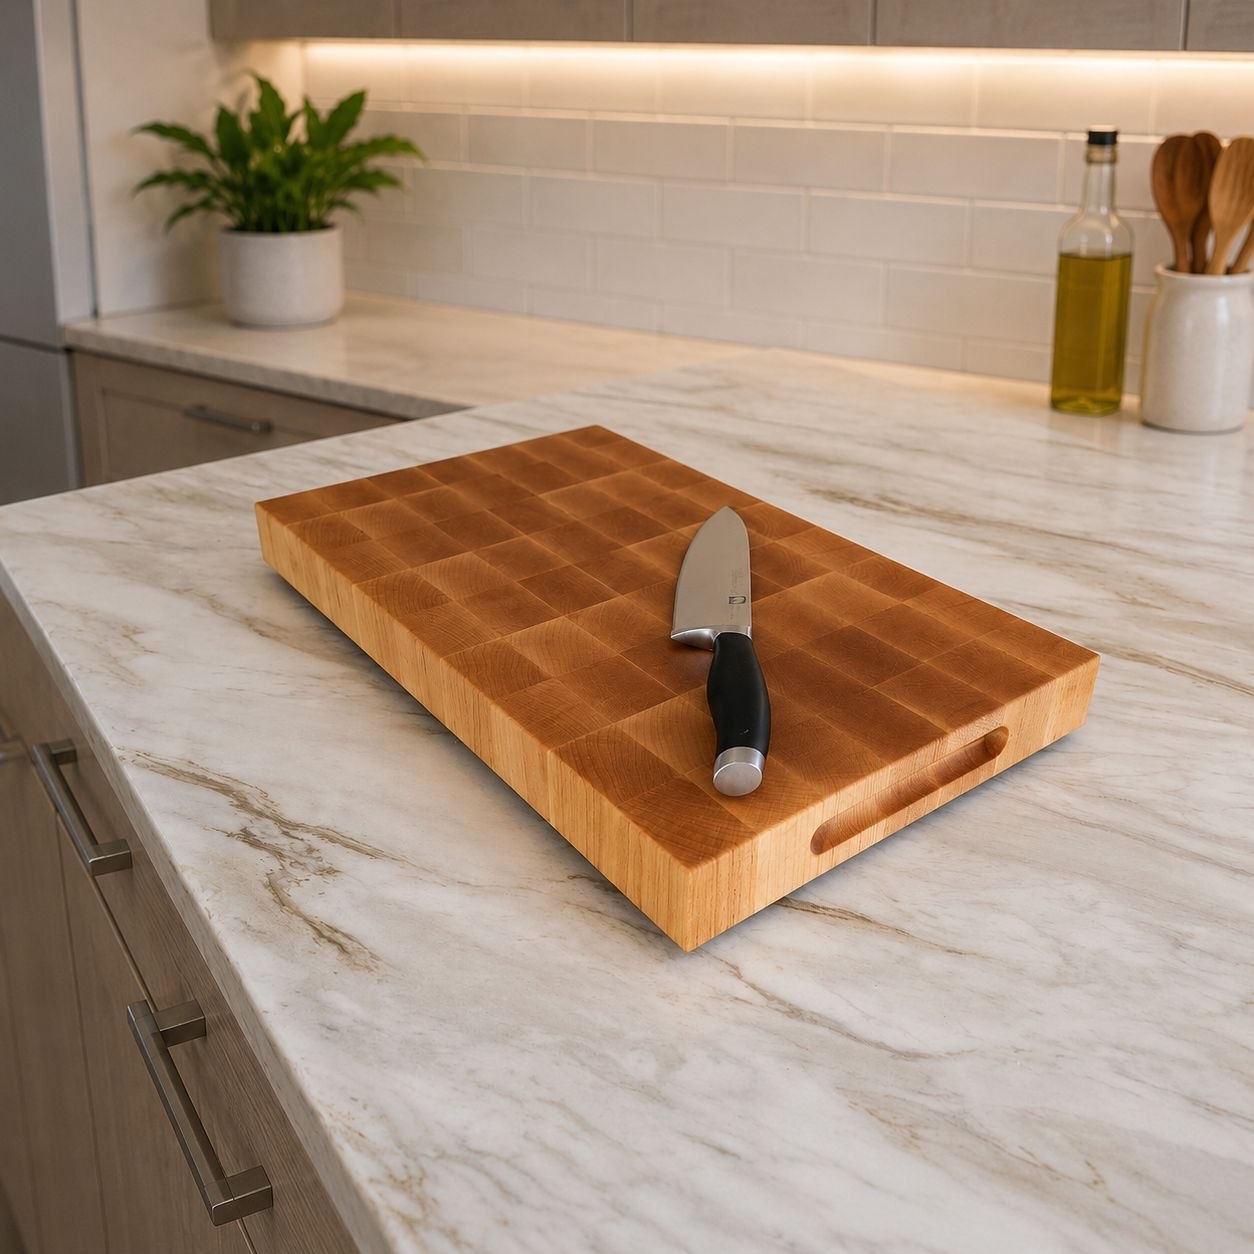
    Most kitchens are best served by one of three species, and people have prepped food on all three for centuries. Hard maple is the benchmark, with a Janka rating around 1,450. It gives you a bright, even, tight surface that resists scarring and takes engraving cleanly, which is why it anchors so many of my boards.

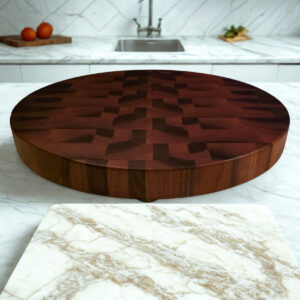
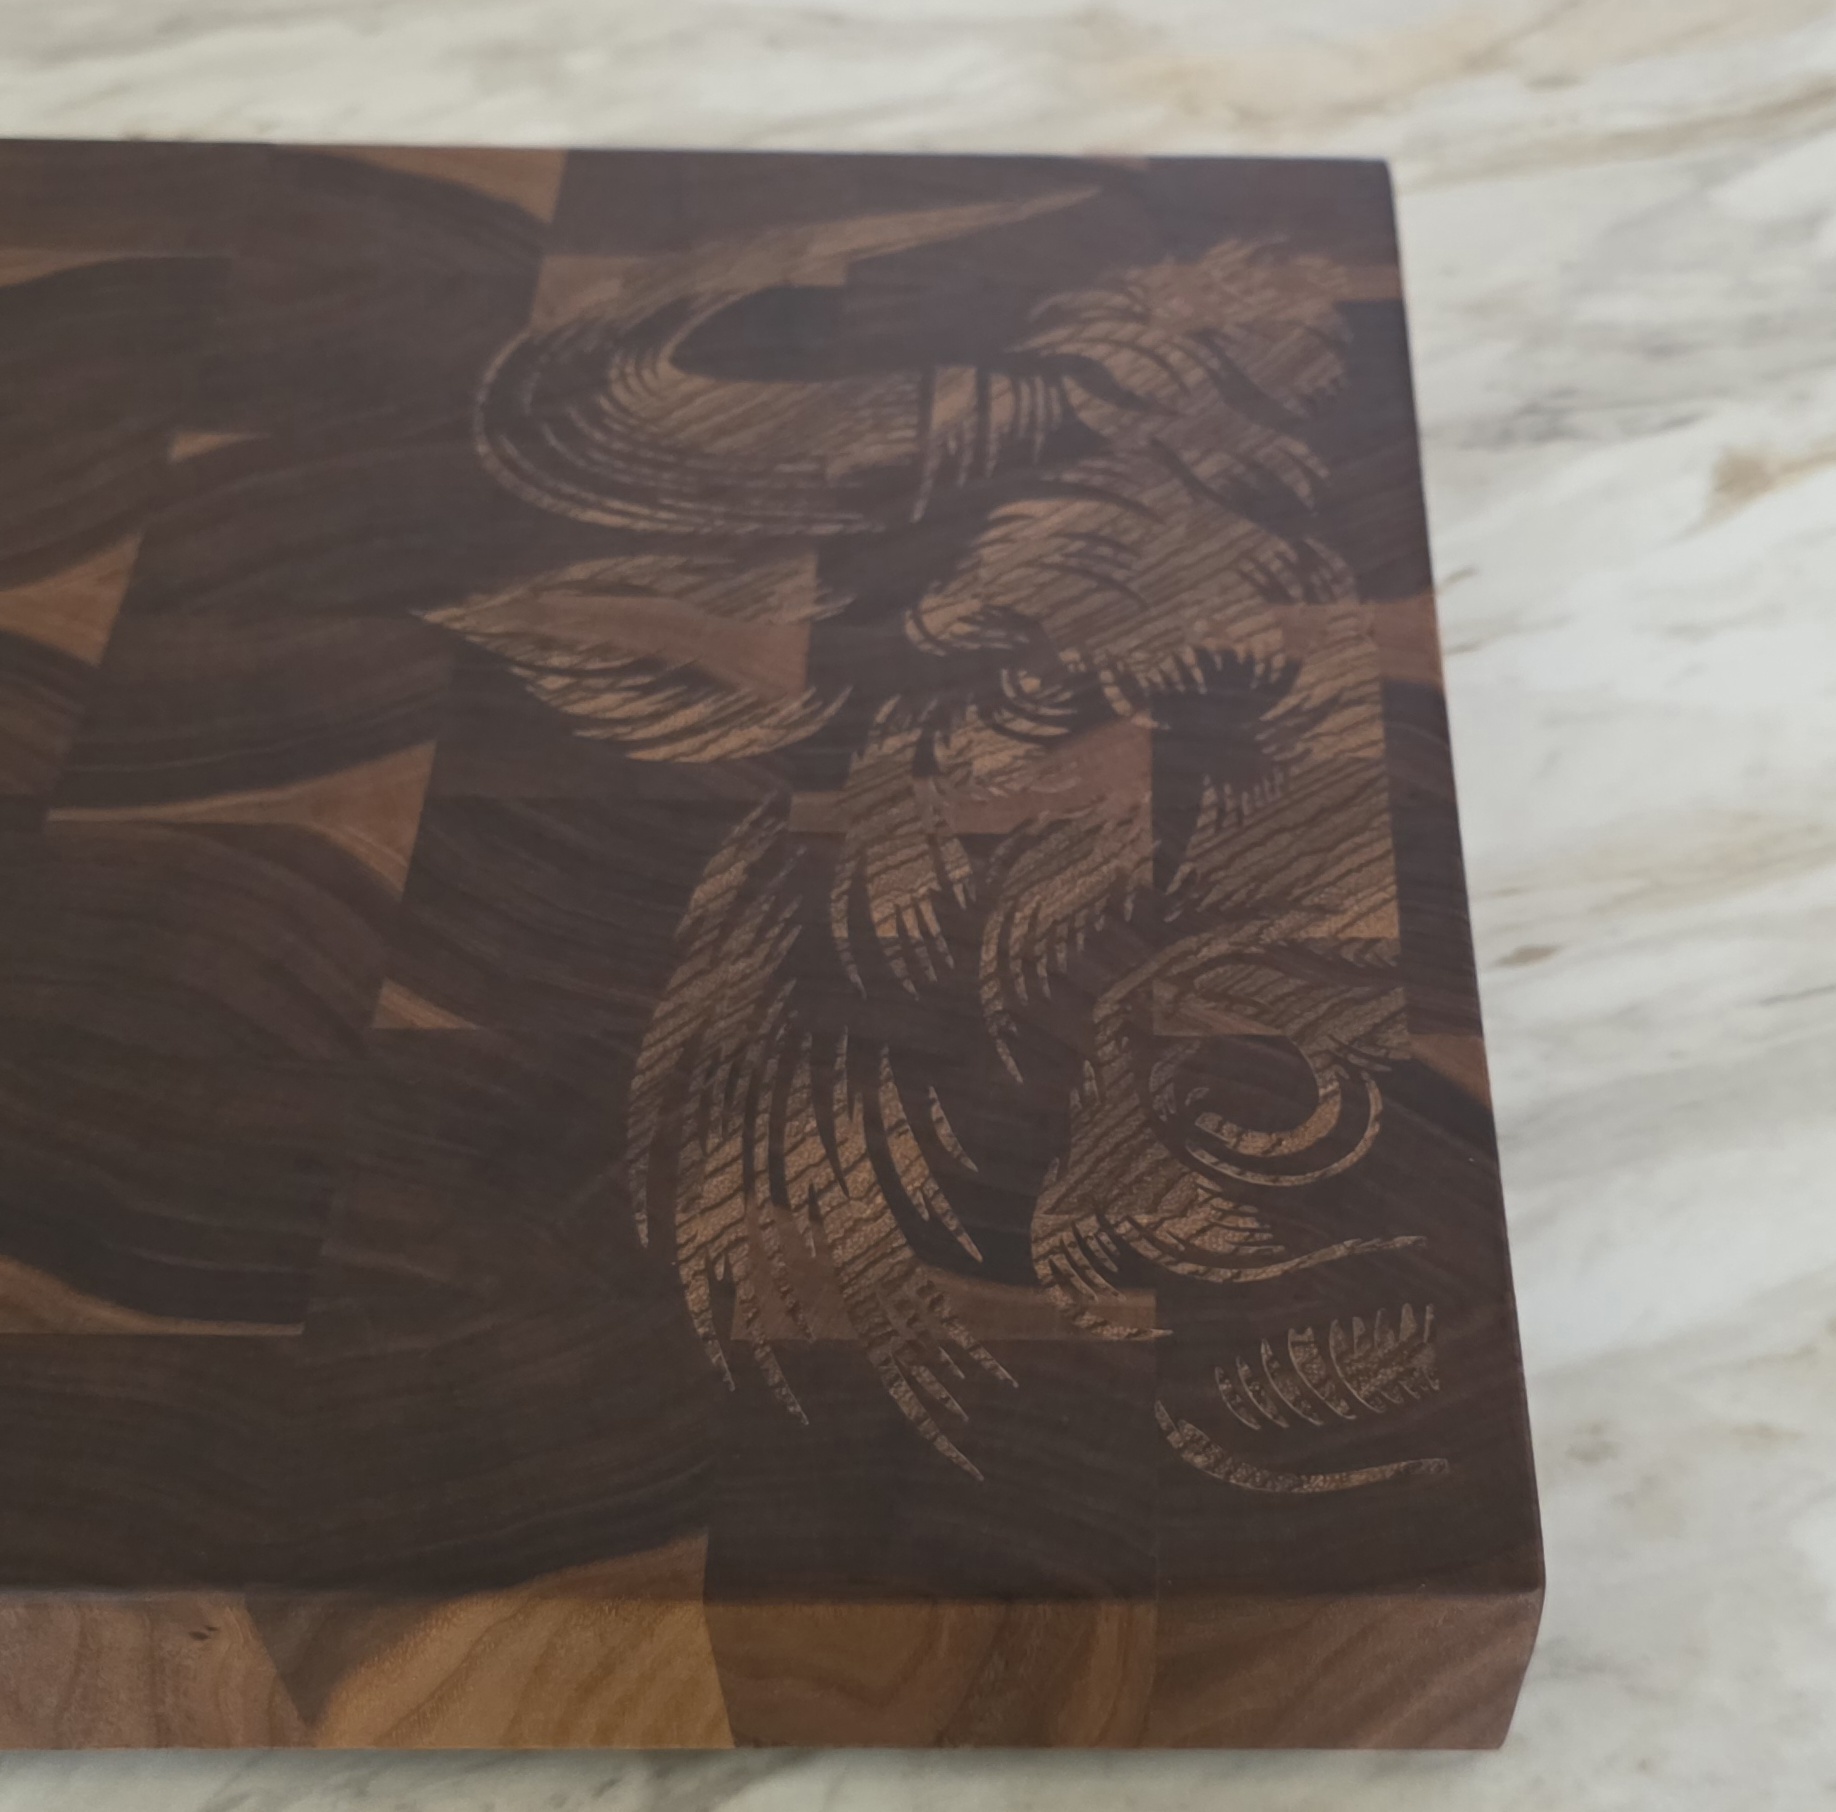
    Black walnut runs softer, near 1,010 on the scale, so it is exceptionally easy on knife edges while still shrugging off moisture. It is also the showpiece of the group. Walnut drinks oil until the grain turns the color of dark honey. Cherry sits close to walnut for hardness, around 950, and it is the one that rewards patience. Because cherry darkens as it meets light and age, a pale board slowly deepens into a warm, reddish glow that no finish can fake. Any of the three makes a cutting board wood you can hand down.

    Where acacia and character woods fit

    Sometimes you want a board with more drama, and that is where the bolder woods come in. Acacia is the standout. It runs harder and denser than the domestic classics — around 1,700 on the Janka scale, above even hard maple — so it resists scratches and stands up to heavy use, though that extra hardness asks a little more of your knives. Its grain also swirls in a way maple never will, and it stays every bit as sanitary. For something truly one-of-a-kind, I also build statement pieces in figured and exotic woods like canarywood, with its streaks of orange and red. Those shine as serving and charcuterie boards, sealed with the same food-safe finish I use on every board. Either way, choose a bolder cutting board wood with your eyes open. If you want a surface mainly for daily chopping, the closed-grain classics or acacia are the most practical pick, while the character woods are hard to beat as a showpiece for the table.

    Matching the cutting board wood to how you cook

    Start with how you actually use a board. For daily slicing and dicing, maple or a maple-and-walnut mix gives you the best balance of durability and easy maintenance. If you care most about protecting a fine knife, walnut or cherry is the gentler choice. For serious prep, a cleaver, or a whole holiday spread, the construction matters as much as the species. That is the case for an end grain build, where the fibers stand upright and your knife slips between them. I explain the difference in plain language in what end grain actually means and in my maker’s guide to end grain butcher blocks.

    Whatever cutting board wood you land on, the care is the same. I finish every board with a food-safe blend of mineral oil and beeswax, and I sell the same conditioner as Board Butter; the full routine lives in my cutting board care guide. You can see the current run of boards on the cutting boards page and the heavier blocks on the butcher blocks page. Each one is a one-of-one, so when it ships, it is gone.

    Get the printable Care Guide (and 10% off)

    Join the workshop list and I will send you the free Cutting Board Care Guide as a printable PDF, plus 10% off your first board.

    We don’t spam! Read our privacy policy for more info.

    Every board is built by me, one at a time, on the Canadian prairie in Virden, Manitoba, then finished by hand and shipped across Canada and the United States. If you would like a board made in a specific wood, sized for your kitchen, or engraved, reach out any time — choosing the wood together is half the fun.

  • What Is an End Grain Butcher Block? A Maker’s Guide

    What Is an End Grain Butcher Block? A Maker’s Guide

    An end grain butcher block is a cutting surface built from hardwood stood on end, so the face you cut on shows the tips of the wood fibers instead of their long sides. Picture a tight bundle of straws pointed straight up at you. That one structural choice is the reason these boards behave so differently from everything else in the kitchen. I build them one at a time in my Virden, Manitoba shop, and they are the toughest boards that leave my bench. Below I cover what sets an end grain butcher block apart, why it lasts, and how to keep yours going for decades.

    How an end grain butcher block is built

    Most boards in stores are edge grain, which means the long sides of the wood face up. An end grain butcher block flips that orientation. First I mill the hardwood into strips and glue them into a panel. Then I crosscut that panel and stand every piece on its end. After a second glue-up and a long flattening pass, the surface becomes a checkerboard of fiber ends. Because your knife now meets the tips of the fibers rather than their sides, the edge slips down between them instead of scraping across them. If you want the deeper science, I wrote a plain-language explainer on what end grain actually means. The build takes more time, and the finished board earns every minute of it.

    Why an end grain butcher block lasts for decades

    Three things make this style outlast a regular board. First, it stays gentle on your knives. Since the edge settles between the fibers, it dulls far slower than it would on hard edge grain or plastic. Second, the wood self-heals. After a cut, the fibers swell back toward each other once the board is cleaned and oiled, so the surface closes over small marks rather than scarring. Finally, the construction is simply stronger. A thick end grain butcher block shrugs off cleaver work, a whole squash, and a full holiday prep session that would wreck a thinner board. As a result, a well-kept block genuinely outlives the kitchen it started in.

    Choosing the right wood and size

    I build most blocks from Canadian hardwoods, usually hard maple, walnut, and cherry, because they hit the sweet spot of density and grain. Maple gives you a bright, even surface that takes engraving cleanly. Walnut runs darker and richer, and it drinks the oil until the grain turns the color of dark honey. For size, start with how you actually cook. A compact block suits a smaller counter and everyday slicing, while a larger piece like the Maple Boreal, 20×12 handles serious prep and doubles as a serving centerpiece at the table. You can see the current run on the end grain butcher blocks page. Each one is a one-of-one, so when it ships, it is gone.

    How to care for your end grain butcher block

    Good care is simple, and it makes all the difference. Wash the board by hand with warm, soapy water, then stand it on edge to dry so air reaches both faces. Never run it through the dishwasher or leave it to soak. Every few weeks, work in a food-safe finish. I use a blend of mineral oil and beeswax, and I sell the same conditioner as Board Butter. The oil keeps the wood from drying and cracking, while the wax adds a water-beading layer on top. For the full routine, here is my complete cutting board care guide. Stay on top of this and your end grain butcher block will hold flat, stay sanitary, and look beautiful for years.

    Get the printable Care Guide (and 10% off)

    Join the workshop list and I will send you the free Cutting Board Care Guide as a printable PDF, plus 10% off your first board.

    We don’t spam! Read our privacy policy for more info.

    Every board is built by me, one at a time, on the Canadian prairie in Virden, Manitoba, then finished by hand and shipped across Canada and the United States. If you would like one sized or engraved for your own kitchen, reach out any time.

  • Wooden Cutting Board Care: How to Make Yours Last Decades

    Wooden Cutting Board Care: How to Make Yours Last Decades

    A well-made wooden board isn’t a disposable kitchen tool — it’s a piece meant to be used hard and handed down. The difference between a board that lasts a few seasons and one that lasts decades comes down to a few minutes of wooden cutting board care here and there. Here’s everything you need to keep yours flat, safe, and beautiful, straight from our workshop in Virden, Manitoba.

    Everyday cleaning: the 30-second routine

    The single most important habit is also the simplest. After each use, rinse the board under warm water, add a small amount of mild dish soap, and scrub gently with a sponge or soft brush. Rinse thoroughly, dry it right away with a towel, and — this part matters — stand it upright on edge so both faces dry evenly. Never leave a board flat and wet, and never put it in the dishwasher. Thirty seconds now saves you a warped board later.

    The golden rules of wooden cutting board care

    Wood is a living material that expands and contracts with moisture and heat, so most board problems trace back to breaking one of four rules. Never run it through the dishwasher — the prolonged heat and water will crack and warp it. Never soak or submerge it; a quick wash is fine, a long soak is not. Never store it flat while it’s still damp. And keep it away from heat vents, ovens, and direct sun, all of which dry the wood out and split it. Follow those four and you’ve avoided most of what ever goes wrong with a board.

    How to condition your board (and how often)

    Conditioning replaces the natural oils that washing draws out of the wood. It keeps water from soaking in, stops the surface from drying and cracking, and keeps the grain looking rich and deep. A simple test tells you when it’s time: drip a little water on the surface. If it beads up, you’re good. If it soaks straight in — or the wood looks pale and dry — it’s due.

    To condition, apply a generous coat of a food-safe conditioner like our Board Butter, rub it in with a clean cloth following the grain, and let it absorb for four to eight hours — overnight is best. Wipe away the excess and you’re done. As a rule of thumb, end grain boards drink up conditioner more often, roughly every few weeks, while edge grain boards are happy about once a month with regular use. Always condition both faces evenly to keep the board flat.

    Fixing common problems

    Wood is forgiving, and most issues are easy to put right at home. A rough surface? Sand it lightly with a fine grit (220–320), wipe clean, and condition. Warping is almost always uneven moisture — condition both sides evenly and always dry upright. For stains or lingering onion-and-garlic odors, scrub with half a lemon and coarse salt, then rinse and condition. Cracks and checks come from letting a board dry out, so keep it conditioned and it stays stable for years. A severe crack can usually be repaired — reach out before you give up on a board.

    How long should a wooden cutting board last?

    With the routine above, decades — and looking better with age. That’s the whole idea behind a board built to be passed down. Every board we make is cut, glued, and hand-finished one at a time from solid Canadian hardwood, and a few minutes of care is all it asks in return. If you’re looking for one built to go the distance, browse our handcrafted cutting boards.

    Get the printable Care Guide

    Want this as a designed, printable PDF to keep in the kitchen? Join our list and we’ll send you the full Cutting Board Care Guide — plus 10% off your first board.

    We don’t spam! Read our privacy policy for more info.

Northern Prairie Woodworks is a one-person shop in Virden, Manitoba
Making heirloom cutting boards and handcrafted wood goods
Ships across Canada and the US. Made to be Passed Down.

© 2026 Northern Prairie Woodworks. All rights reserved.