 Northern Prairie Woodworks
Wood Cutting Board Care: The Complete Owner’s Guide
Good wood cutting board care comes down to three habits: wash it quickly, dry it evenly, and feed the surface before it starts to look thirsty. What follows is the long version, written for boards living in Canadian kitchens — including the dry prairie winters that are harder on hardwood than anything you will ever do to it with a knife.
What wood cutting board care can and cannot do
Most care guides claim that oiling seals wood and prevents cracking. That is not what the research shows. The USDA Forest Products Laboratory measured how well finishes actually exclude moisture, and a rubbed-on oil like linseed tested roughly 12% effective on day one and 0% by day seven. Film finishes such as two-part polyurethane do block moisture properly — but you cannot cut on them, so they are no use on a board.
So what does conditioning actually do? First, it keeps the surface fed rather than dry and pale. Second, it helps water bead up and roll off during a wash instead of soaking straight in. Finally, it makes the board easier to clean and keeps the grain looking like wood rather than chalk. All of that is worth doing on a schedule. None of it is a force field, and no conditioner sold anywhere is.
What genuinely governs whether a board cracks is how fast moisture moves in and out of it. That is a question of where you keep the board and how you dry it — not how recently you oiled it. I would rather tell you that than sell you a jar on a false promise.
Your first 30 days: a cure schedule
Every board leaves my shop already oiled and waxed. Because of that, you may notice it sweating slightly in the box or just after unboxing. That is normal, it stops within a day or two, and it is simply the finish settling after a temperature change in transit.
A new board drinks more than a seasoned one, so the first month runs on a heavier schedule than the rest of its life. Your board ships with a complimentary tin of Board Butter for exactly this reason.
- Day 1 — wipe the board down, let it come to room temperature, then apply a coat of conditioner and leave it overnight.
- Week 1 — condition twice, letting each coat absorb 4–8 hours before wiping off the excess.
- Weeks 2–4 — condition once a week. Start using the board normally from day two; use is good for it.
- After 30 days — drop to once a month with regular use, or whenever the surface starts looking dry or pale.
Daily cleaning after use
Speed matters far more than technique here. The longer water sits on the surface, the more of it the wood takes on, so the whole job should take under a minute.
- Rinse with warm water.
- Add a small amount of mild dish soap.
- Scrub gently with a sponge or brush.
- Rinse thoroughly.
- Dry immediately with a towel — both faces, not just the one you used.
- Stand it upright to finish air-drying so both sides dry at the same rate.
What not to do
- Never put a wooden board in the dishwasher. Hot water followed by forced heated drying is the fastest moisture swing you can inflict on wood, in both directions at once.
- Never soak or submerge it.
- Never leave it sitting in standing water or lying flat while wet.
- Skip bleach and harsh chemicals.
- Keep it off heat vents and out of direct sun.
Deep cleaning and odour removal
Onion, garlic and fish will eventually make themselves known. Rather than reaching for anything harsh, use what is already in the kitchen.
- Sprinkle the surface with coarse salt or baking soda.
- Scrub with the cut face of half a lemon.
- Let it sit for a few minutes, then rinse and dry immediately.
- Re-condition afterwards, because the salt and acid strip some of the surface oil.
Conditioning: what to use and how often
I finish every board with Board Butter before it ships, and it is what I would put back on. It blends mineral and MCT oils with prairie-grown camelina oil, beeswax and carnauba wax. The camelina matters: unlike mineral oil, which never cures, camelina is a genuine drying oil that sets up in the surface, and its natural tocopherol content makes it keep far better than flaxseed.
Good choices
- Board Butter — my own blend, and what every board ships with.
- Food-grade mineral oil.
- A mineral oil and beeswax blend.
Oils to avoid
- Olive oil — it will go rancid in the wood and the smell does not come out.
- Vegetable, canola and other kitchen cooking oils — same problem.
- Any non-food-grade oil, including hardware-store mineral oil not labelled food safe.
How to apply it
- Apply generously — more than feels reasonable.
- Work it in with a clean cloth, going with the grain.
- Let it absorb 4–8 hours; overnight is better.
- Wipe off everything that has not soaked in. A board should feel dry to the touch, never tacky.
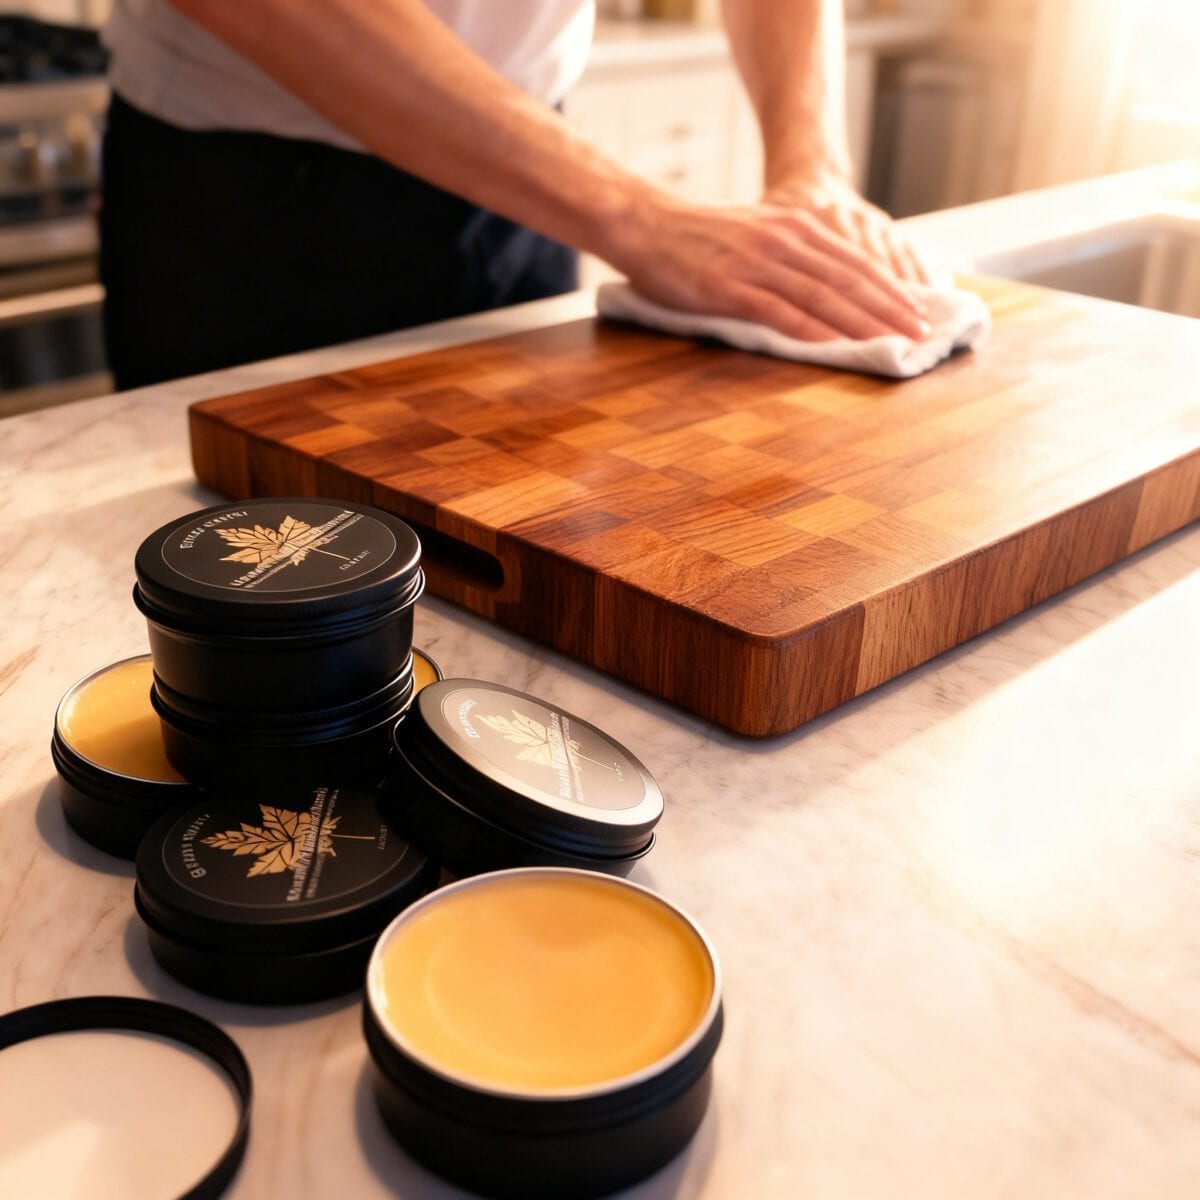
Boards in heavy daily use will want conditioning more often than once a month. The surface tells you: when the colour goes flat and pale and water stops beading, it is ready.
End grain versus edge grain care
The two constructions want slightly different attention, and knowing which you own changes the routine.
End grain boards
End grain boards stand the wood fibres upright so a knife edge slips between them instead of severing them, which is what gives the surface its self-healing quality and its kindness to a blade. The trade-off is that moisture travels along those open fibres roughly 10 to 15 times faster than it moves sideways through the wood. As a result, an end grain board both absorbs and releases water more readily than an edge grain one.
- Dry it promptly and evenly — this is where end grain earns its reputation for being fussy.
- Never leave it face-down on a wet counter.
- Condition on schedule rather than waiting for it to look dry.
Edge grain boards
Edge grain boards run the long faces of the strips upward. Meanwhile they are lighter, more stable day to day, and more forgiving if you are occasionally slower to dry them. They show the figure of the wood beautifully and cost less to build, which is why they suit everyday prep.
Boards with feet, brass or resin
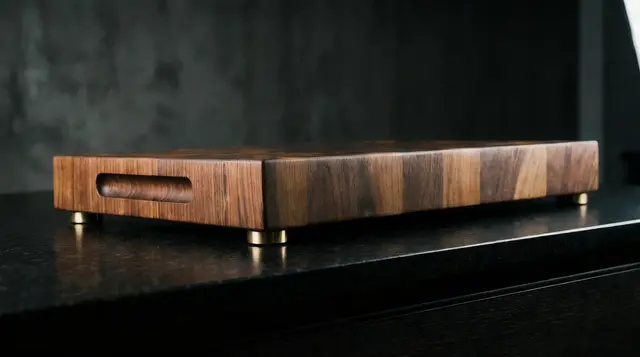
- Wipe metal feet dry after every wash.
- Avoid soaking anywhere near resin or glue joints.
- Keep mixed-material pieces away from extreme heat.
Prairie winters, forced-air heat, and the January cracks
This is the part almost no care guide written south of the border bothers with, and on the prairies it is the whole ballgame.
Cold outdoor air holds very little moisture. Manitoba Hydro puts the paradox plainly: outdoor air at 0°C and 80% relative humidity drops to about 20% relative humidity once it is heated indoors to 21°C. In a Winnipeg January, where the monthly mean sits near −16°C, a heated house can easily run at 20–30% humidity for weeks.
Wood answers that directly. At the 50–60% humidity of a normal summer kitchen, hardwood settles at roughly 9–11% moisture content. At 20–30%, it settles nearer 4.5–6%. So your board swings four to six percentage points of moisture between July and January, and it shrinks as it goes.
Cracking happens when that change arrives too quickly. Because the outer shell of the board dries and shrinks before the core does, the shell ends up in tension. If the tension exceeds what the fibres can take, the surface checks. Fine surface checks are cosmetic and sand out. A crack that runs right through means the stress went all the way, and that is a repair.
What actually helps
- Keep the board off the furnace register and away from direct sun — a board sitting above a heat vent is the single most common way one dies.
- Do not store it flat against a cold exterior wall or a warm appliance.
- Health Canada’s guidance, via Manitoba Hydro, is 30–55% indoor humidity in winter. If you run a humidifier, aim there.
- Cap it near 30% once it drops below −10°C outside. Push higher than that in a cold snap and you will get condensation damage on your windows instead.
- Dry both faces evenly, every time. Uneven drying is what cups a board.
When to sand, re-flatten, or retire a board
- Feels rough after washing. That is raised grain, and it is normal on a new board. Sand lightly with 220–320 grit, then condition.
- Fine surface checks. Cosmetic. Sand them out and re-condition.
- Cupping or warp. Caused by one face drying faster than the other. Condition both sides evenly and always dry upright. A mild cup often relaxes.
- Deep knife scoring that traps food. Time for a re-flatten — a proper resurfacing rather than hand sanding.
- A crack through the thickness, or a glue joint that has opened. Stop using it and send it back to me.
- Retire it only when a through crack cannot be cut out without losing the board. Most boards never get there.
Every board I build carries a lifetime care guarantee. If one of mine needs re-oiling, re-flattening or repair, it comes back to the shop and I take care of it.
Caring for other pieces
Charcuterie boards, serving boards and décor
- Clean gently with a damp cloth rather than a full wash.
- Avoid harsh cleaners.
- Re-oil occasionally to keep the finish alive.
- Keep purely decorative pieces away from moisture altogether.
Epoxy inlay and mixed-material pieces
- Wipe clean with a soft, damp cloth.
- Skip abrasive scrubbers — they dull the epoxy before they touch the wood.
- Keep them away from extreme heat.
- The epoxy is tough, but the hardwood around it still needs conditioning.
Sealed game boards
Chess boards and similar display pieces are finished and sealed rather than oiled. Do not condition them. Adding oil to a sealed surface will not soak in and will leave the finish gummy. Dust them, keep them out of direct sun, and leave the surface alone.
Frequently asked questions
Can I put my board in the dishwasher?
No, and this is the one rule worth being strict about. A dishwasher soaks the wood in hot water and then force-dries it with heat, which drives moisture in and back out faster than anything else a board will encounter. It is the most reliable way to ruin one.
Can I use vinegar?
Occasionally, diluted, and rinsed off quickly. It is useful for a deep clean but it strips surface oil, so condition the board afterwards.
Is a wooden board sanitary?
Cleaned with soap and warm water and dried promptly, yes. The important variable is the drying rather than the material — a board of any kind left damp is the problem.
How often should I condition it?
Weekly for the first month, then monthly with regular use. Beyond that, let the board tell you: when it looks pale and water stops beading, it is time.
Can I just use olive oil?
Please do not. Olive oil and other cooking oils turn rancid inside the wood, and the smell is permanent. Use a food-grade mineral oil blend or Board Butter.
My new board feels slightly damp out of the box. Is that normal?
Yes. Boards ship freshly oiled and waxed, and a temperature change in transit brings a little of that finish to the surface. Wipe it down; it settles within a day or two.
Small cracks appeared over the winter. Did I do something wrong?
Probably not. Fine surface checks are the wood responding to a dry heated house, and they sand out. Check where the board lives — above a heat vent or in direct sun is usually the culprit. And be wary of anyone telling you that more oil would have prevented it.
Can I sand the board myself?
Yes. Fine grit, 220 to 320, going with the grain, then condition it afterwards. For a deep re-flatten, send it to me instead.
How long should a board last?
Decades, kept out of the dishwasher and off the heat vent. These are built to be passed down.
Do you repair boards you made?
Yes — every board carries a lifetime care guarantee. Get in touch and we will sort it out.
Need Help With Your Cutting Board Care?
If you have questions about cutting board care instructions or maintaining your NPW product, please visit our Contact Us page. We’re always happy to help you keep your handcrafted piece in excellent condition.
Everything in this guide comes down to one habit: keep the wood fed. The conditioner I use on every board before it ships — and the full care routine — live in one place.
Not seeing the piece you're picturing?
Memento boxes, shadow boxes, a board built around a shape, a custom-sized Compass block — most of what leaves this shop started as someone reaching out. Tell me what you have in mind and I'll come back with ideas and a price. No payment, no account.
Tell me what you're picturing →